

A vocal microphone preamp boosts the weak signal produced by your microphone so it can be sent to an audio interface, mixing console or converter at a usable level. For most vocals, the preamp built into an interface is sufficient; an external model becomes useful if a dynamic microphone lacks level, hiss increases significantly or you are looking for a particular coloration.
The right choice therefore depends first on the microphone, the distance from your mouth and how you intend to use it. Here is how to choose between an audio interface, external preamp, inline booster, valve model and console channel strip, without buying equipment that will make no difference to your setup.
To properly separate signal preparation from listening through loudspeakers, you can also consult this guide to choosing an amplifier for a singing microphone.
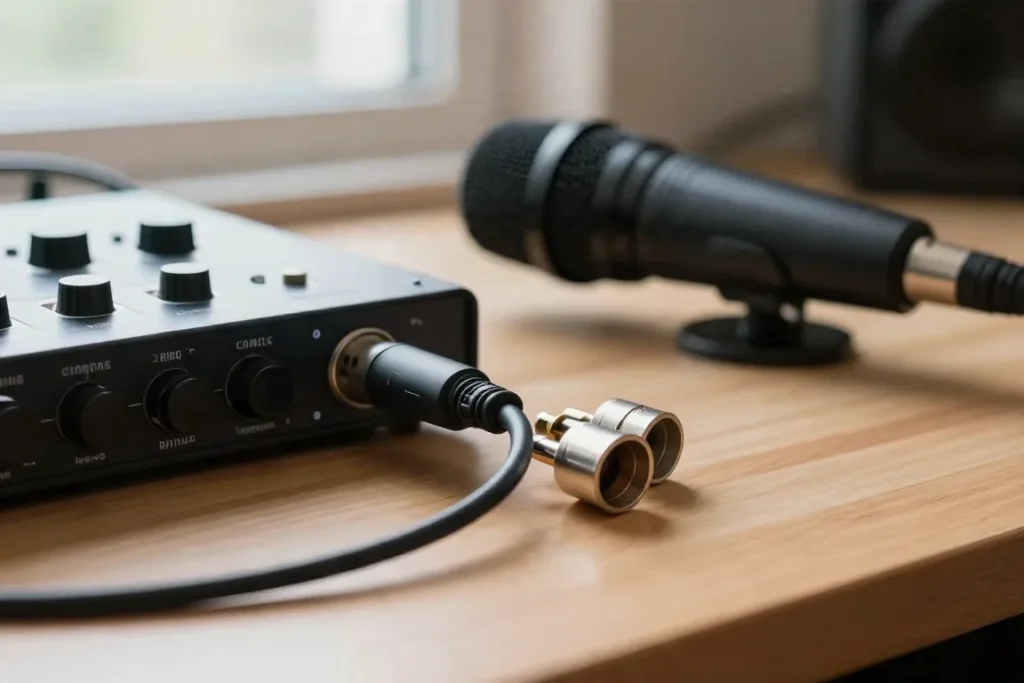
What is a vocal microphone preamp used for ?
A microphone delivers microphone level, which is much lower than line level. The preamp raises this signal using gain, then sends it for processing, recording or broadcast. Without this stage, an interface or console would receive a signal that was too weak to use properly.
Gain does not by itself create a better vocal sound. It increases both the captured voice and the noise already present in the signal. A setting that is too low produces a quiet recording; one that is too high causes saturation or clipping when you speak or sing more loudly.
The preamp does not replace the microphone, the room acoustics or positioning either. An external unit can provide more gain headroom, lower self-noise or a different colour. It does not automatically make a voice clearer, deeper or more dynamic.
Before buying an external preamp, turn up your interface’s gain with the microphone positioned at the correct distance. If your voice reaches a comfortable level without audible hiss or clipping, the built-in unit is already doing its job.
Preamp for a dynamic or condenser microphone ?
The type of microphone directly affects the gain required. A dynamic microphone often produces less level than a condenser model, especially when the source is distant. A condenser microphone is more sensitive, but generally requires 48 V phantom power.
Microphone sensitivity, impedance, polar pattern and distance from the mouth matter more than any general rule about the number of decibels. A cardioid microphone positioned close to the voice picks up less of the room and often needs less gain than a microphone used at a distance.
Low-sensitivity dynamic microphone for speech
A Shure SM7B illustrates this situation: it is a cardioid dynamic microphone with an XLR output, requiring no phantom power, whose output level can demand a lot of gain depending on the voice and distance. An interface with limited gain may therefore reach its limit before delivering a comfortable level.
Start by speaking close to the microphone, without pressing your mouth against the grille. If the level remains too low or hiss becomes audible when you increase the gain, an inline booster or low-noise external preamp makes more sense than simply changing the cable.
Condenser microphone for singing in a home studio
For singing, a condenser microphone often provides sufficient level with an audio interface’s preamp. The main priorities are to switch on 48 V, maintain the correct recording distance and limit room reflections. An external preamp will not fix a reverberant room.
48 V mainly powers the capsule and electronics of condenser microphones. Switch it on only if the microphone requires it and check the manufacturer’s instructions. Turn phantom power off before connecting or disconnecting an XLR microphone.

Built-in preamp, audio interface or external unit ?
An audio interface with an XLR input already includes a microphone preamp. It generally also provides analogue-to-digital conversion, a headphone output and the connections needed for a computer. For a podcast, streaming or home studio with one or two voices, it is the simplest choice.
An external preamp sits before the line input of an interface or console. It becomes relevant when you need more gain, want to power several sources, add analogue colour or expand an existing setup. It should not be connected to a microphone input while allowing both preamps to stack without reason.
| Solution | For whom | Strength | Limitation |
|---|---|---|---|
| Interface preamp | Vocals, podcast, streaming | Simple and complete | Gain or colour can be limited |
| External preamp | Equipped studio | Chosen gain and character | Additional connections |
| Inline booster | Low-sensitivity dynamic microphone | Targeted clean gain | Needs 48 V downstream |
| Console channel strip | Vocals processed at the input | Preamp and processing | Less straightforward to set up |
When an audio interface is sufficient
For most home studios, keep the interface’s preamp. A Focusrite Scarlett 2i2 4th Gen has two microphone preamps, an advertised maximum gain of 69 dB and 48 V phantom power. This type of equipment comfortably covers spoken or sung vocals with a suitable microphone.
This solution also reduces cabling errors and keeps the signal chain short. Set the gain, plug in the headphones and record. If the level is correct and hiss is low, replacing the interface with a separate preamp will not necessarily provide a useful difference.
When to add an external preamp
Add an external model if you have to push the gain close to its limit, if noise becomes distracting during silences or if you need a line output to another device. Expanding a setup may also justify a unit with several inputs or a suitable digital connection.
An external preamp is not an automatic upgrade. First compare the actual level obtained, background noise and headroom before clipping. A well-designed modern interface may be cleaner and more practical than a poorly integrated external unit.
What makes a good vocal microphone preamp
Do not choose a preamp by looking only at its maximum gain. Circuit quality is also judged by equivalent input noise, headroom before saturation, control precision and how it integrates with your interface.
Maximum gain, headroom and self-noise
Maximum gain indicates how far the preamp can raise the microphone level. It does not indicate how quiet the result will be. For speech recorded with a low-sensitivity dynamic microphone, prioritise sufficient gain with controlled self-noise rather than an impressive figure on the specification sheet.
Equivalent input noise, often shown as EIN, helps assess the noise added by the preamp. Headroom indicates the available margin before saturation. Good headroom accommodates loud syllables, shouts and vocal variations without clipping.
48 V, pad, high-pass filter and polarity
48 V phantom power is essential for many condenser microphones, but not for a passive dynamic microphone such as the Shure SM7B. The pad reduces the level of an excessively loud source; it is rarely necessary for normal speech, but can help in front of a very powerful source.
The high-pass filter attenuates unwanted low frequencies, such as stand vibrations or certain handling noises. Polarity inversion mainly helps resolve phase problems with several microphones. For a single voice, gain, positioning and self-noise remain the priority functions.
Valve, transistor, booster or console channel strip ?
These families do not meet the same need. A transistor preamp often aims for neutrality and low noise generation. A valve model can add adjustable saturation and colour. An inline booster mainly provides gain, while a channel strip adds processing.
Valve preamp
A valve preamp can alter the tone when the circuit is pushed. Saturation can become progressive, but the result depends on the model, input level and settings. A valve therefore does not automatically make a voice warmer, louder or more pleasant.
Choose this family only if you are looking for an audible colour and know how to set it. For clean vocal recording, correcting a lack of level or reducing hiss, a transparent preamp or suitable booster is generally more rational.
Inline booster
A Cloud Microphones Cloudlifter CL-1 can add up to 25 dB of clean gain. It sits between the microphone and the interface’s XLR input. It uses phantom power supplied by the downstream device, without passing it on to the microphone according to the design specified for this model.
The connection remains simple: microphone to booster, then booster to the interface’s microphone input. Switch on 48 V on the interface if the booster requires it, and always check your model’s documentation. An activator is not a digital converter and does not replace an audio interface.
Console channel strip
A console channel strip generally combines a preamp with several tools: EQ, compressor, high-pass filter, pad, polarity inversion or de-esser, depending on the model. It allows you to process the voice before recording, which can be useful for a studio chain or live broadcast.
However, it requires more method. Poor EQ or excessive compression is printed into the signal and will be difficult to remove. For beginners, choose a simple interface; move to a channel strip once you already understand gain and positioning.
Which vocal microphone preamp for your use?
For speech, streaming and podcasting, choose an audio interface with a sufficiently powerful XLR preamp. A low-sensitivity dynamic microphone may justify an inline booster if the available gain is insufficient. Avoid buying a valve preamp solely to create a ‘professional’ sound.
For singing in a home studio, start with a clean audio interface offering 48 V and a suitable condenser microphone. Work on the room, distance and plosives before adding a preamp. A mid-range interface’s built-in preamp is the most coherent choice for most setups.
For live performance, use the preamp in the console or sound system. An external channel strip may suit a singer who controls their own signal chain, but it adds settings and potential failure points. An inline booster is useful only if the system properly supports its wiring and power requirements.
For a voice recorded with a Shure SM7B or comparable dynamic microphone, first check the level and hiss. If the interface genuinely lacks headroom, choose an inline booster or transparent preamp. Do not assume that 60 or 70 dB is mandatory for every dynamic microphone.
How do you set gain and avoid poor sound ?
Position the microphone in front of your mouth, slightly to one side if explosive consonants are a problem. A consistent distance stabilises the level. A pop filter helps with ‘p’ and ‘b’ sounds, while a foam windscreen can reduce some breath noise without replacing good technique.
Start with the gain low, speak at your loudest level, then increase it gradually. Aim for a comfortable signal with headroom during loud passages. Peak meters should not reach the clipping area. If you need to turn the gain all the way up, move the microphone slightly closer before buying equipment.
- Position the microphone at a stable distance and keep your mouth within its useful axis.
- Reduce the gain if peaks clip or the sound becomes harsh.
- Move reasonably closer if the signal remains too weak.
- Listen to the silences through headphones to detect added hiss.
The proximity effect boosts low frequencies when you move close to a directional microphone. It can give a voice more body, but can also make it muddy or muffled. Correct the distance first; do not compensate for excessive proximity with EQ or a more expensive preamp.
For an XLR chain, lower the levels before making any changes. Switch off 48 V before connecting or disconnecting a microphone, then allow the circuit time to stabilise. Never use improvised electrical solutions to power or modify a preamp, and keep headphone volume at a sensible level.
If hiss persists, test each element separately: microphone, XLR cable, input, gain and computer. Noise may come from the room, a faulty cable, gain set too high in software or a device positioned too close to an electrical source. The preamp is not always responsible.
FAQ: vocal microphone preamp
What is the best preamp for vocals ?
The best preamp is one that provides enough gain without audible hiss and matches your microphone. For most vocals, an audio interface with an XLR input, 48 V phantom power and precise gain control is sufficient. Choose an inline booster for a low-sensitivity dynamic microphone that remains too quiet, rather than a valve model without a specific need.
What is a microphone preamp used for ?
A preamp raises microphone level to make it suitable for an interface, console or converter. It provides a usable level before recording or processing. It does not replace a power amplifier, which drives loudspeakers, or a digital converter, which turns the analogue signal into data.
Do you need a preamp with a dynamic microphone ?
A dynamic microphone does not always need an external preamp. An interface’s built-in preamp is sufficient if the level is comfortable and hiss is low. An external model or booster becomes useful when microphone sensitivity, distance from the mouth or the interface’s output level forces you to use very high gain.
Does a condenser microphone always need 48 V ?
An XLR condenser microphone generally requires 48 V phantom power to operate correctly. However, check the manufacturer’s documentation, as systems and connections can vary. Switch on 48 V only when necessary, and turn it off before connecting or disconnecting the microphone.
Does a Cloudlifter replace an audio interface ?
No, a Cloudlifter does not replace an audio interface. It adds gain before the microphone input and receives phantom power from the downstream device. It does not convert the signal for a computer, provide a headphone output or replace an interface’s complete preamp.
Can you connect a microphone preamp to an amplifier ?
You can connect a preamp’s line output to a suitable input on an amplifier, console or interface. Do not confuse this stage with power amplification for loudspeakers. Check the input level and type so that you do not send a preamplified output into an already amplified microphone input.
Does a valve preamp necessarily improve a voice ?
No, a valve preamp does not necessarily make a voice better. It can add colour or saturation depending on its circuit and settings, but it can also produce an overly pronounced result. For a clean and predictable sound, first prioritise a preamp that is sufficiently powerful, quiet and suited to the microphone.