Do you hear breath, a buzz or crackling behind your voice? The microphone background noise spoils quickly a call, a voiceover or a live. This guide gathers the concrete steps I apply in the studio and on set to obtain a clean signal, without artifices. The idea: understand where these nuisances come from, properly adjust the equipment, then refine with simple and controlled treatments.
Microphone background noise: where does it really come from?
A microphone doesn’t “see” only your voice. It translates variations in air pressure: your timbre, the room’s echo, the whirr of a PC, traffic outside, the vibrations of a desk. The perceived quality depends on the signal-to-noise ratio: the louder your voice is compared to the rest, the cleaner the capture will seem.
The microphone has its own signature: sensitivity, directivity, output level. A very sensitive model reveals subtle details… and every nuisance around. A less sensitive model will require more gain, which can amplify the whole, for better or worse. The choice of the transducer already conditions your margin.
The role of gain and the preamp
Between the capsule and the computer, a preamp raises the signal level. If it works too hard, it adds its own hiss. A good gain setting is to target an average voice level around -12 to -9 dBFS in your software, with a few peaks below 0 dBFS. We avoid pushing the “weak” mic like an SM7B on a small audio interface to the max. Better to have a sturdier preamp or an inline booster.
Directivity and positioning
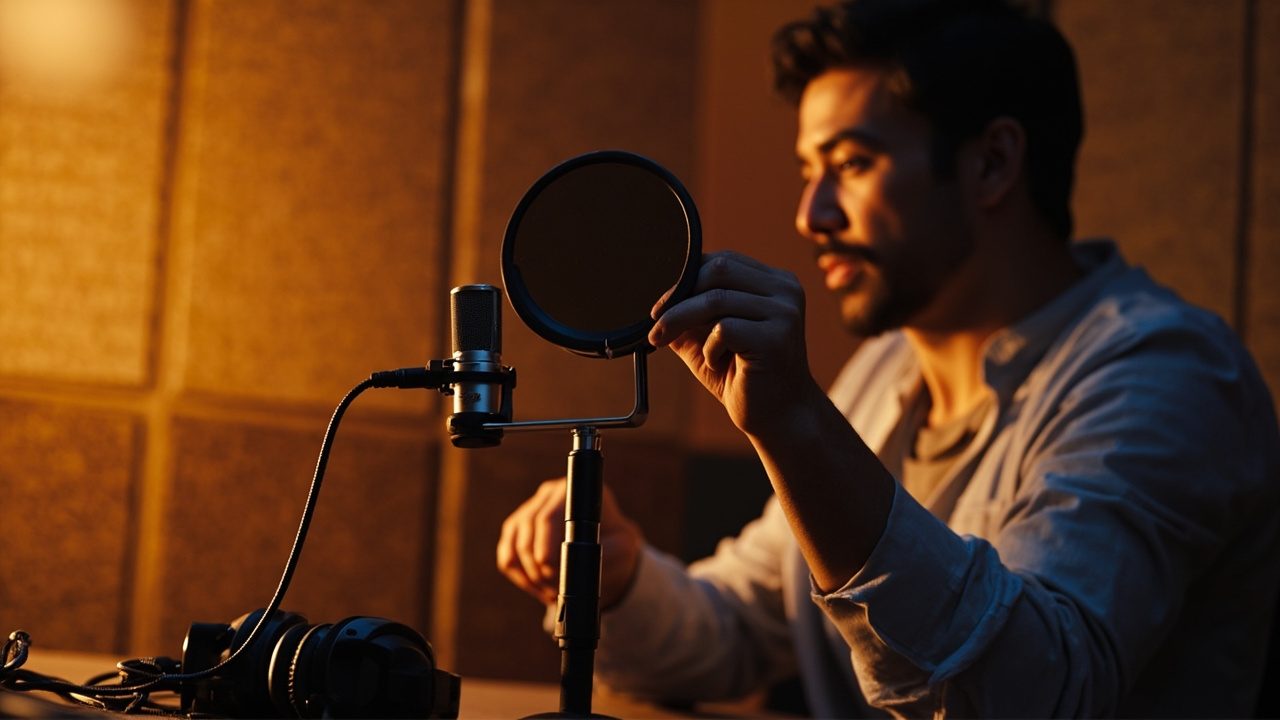
The directivity of a microphone determines what it accepts and what it rejects. A cardioid placed at 10–15 cm, slightly off-axis, isolates the voice better than an omnidirectional mic placed at 50 cm. Moving the source toward the mic’s “dead angle” mechanically reduces ambiance. Placement often does more than any plugin.
The real nuisances I encounter most often
In control rooms and home studios, I list these recurring suspects:
- Computer fans, air conditioning, VMC: broadband, continuous and tenacious airflow.
- LED lighting and dimmers: “buzz” or hum when the intensity is reduced.
- Smartphones, routers, RF: small “tac-tac” or digital rain near cables.
- Noisy USB power supply, ground loop between PC, monitor and audio interface.
- Mechanical noises: keyboard keys, mouse, mic stand that resonates on the table.
Concrete case: on set, a mat placed under the microphone’s foot removed a dull bass transmitted by the furniture. Another example: a poor-quality USB charger was enough to inject a whine into the input; unplugged, the problem disappeared. These “little things” make a huge difference.
Essential settings on Windows, macOS, OBS and sound cards
Windows 10/11: where the breath slips in
Start with Settings > System > Sound > Input. Select the device, open its properties. Disable any automatic volume correction and test without the “audio enhancements” that sometimes shift the problem. In Control Panel > Sound > Recording > Microphone Properties > Levels, adjust the volume and limit the “Microphone Boost” box: the “+20 dB” often inflates the hiss.
In your applications (Teams, Zoom, Discord), turn off AGC when you control your level. Avoid stacking concurrent processing: a gate in OBS + a noise reduction on the system side + a filter in the driver, it’s often too much.
macOS: simple, but worth checking
System Settings > Sound > Input: choose the right device, speak at your usual level and monitor the gauge. In audio software, set a project to 48 kHz/24 bits for more headroom. On laptops, move the microphone away from the chassis to limit the breath from the cooling fans.
Audio interfaces and power
On an audio interface, prefer moderate gain with a mic placed near the mouth, rather than high gain far away. Activate the 48 V phantom power only for a condenser XLR that needs it. Monitor input levels from the sound card and from the software; only one place should “drive” the level.
If you use a dynamic mic with low sensitivity, a booster like FetHead/Cloudlifter or a good preamp for a vocal mic can limit the hiss by giving you clean decibels.
Cleaning without ruining the timbre: useful processing and limits
The light and effective trio
- High-pass filter at 70–100 Hz to cut the mic’s structural lows and the proximity effect.
- Noise gate discreet to close the mic between phrases. Low threshold, soft attack time.
- Expander (alternative to the gate) to reduce noise below a threshold without fully closing.
Add a bit of compression afterwards, to stabilize the voice. Always test with closed-back headphones: an overly aggressive gate “eats” the ends of words.
Advanced noise reduction
Real-time denoising tools (RNNoise/OBS, NVIDIA Broadcast, plugins in DAWs) are impressive on a noisy PC. Use sparingly: at high intensity, a whisper becomes metallic and breathing becomes fragmented. When the base is healthy, a light noise reduction is enough and leaves no artifacts.
“The best denoiser is a strong source and a calm environment.”
Choosing and placing the right microphone to limit nuisances
In untreated spaces, a proximity dynamic mic forgives more than a very sensitive condenser. Conversely, in a quiet booth, a large-diaphragm reveals a beautiful texture. The type of transducer doesn’t solve everything, but it helps avoid fighting the room.
| Type | Sensitivity | Captured ambience | Gain requirement | Recommended uses |
|---|---|---|---|---|
| Dynamique XLR | Low | Little | High | Streaming, close voices, noisy sets |
| Condensateur XLR | High | A lot | Moderate | Voice over in treated room, singing |
| USB desktop | Medium to high | Medium | Integrated | Simple podcasts, calls, quick content |
| Lavalier | Medium | Variable | Moderate | Reports, on-camera work in motion |
Smart placement and accessories
- Bring the mouth-to-mic distance to 10–15 cm with a pop filter, slightly off-axis to limit plosives.
- Hang the mic on an articulating arm and a shock mount to isolate table shocks.
- Windshield for outdoor use, a “deadcat” if wind is strong. Concealment should never come at the expense of intelligibility.
Acoustics without major work
Aim for absorption at the first reflection points: heavy curtains, filled shelves, rugs. Stay away from parallel walls. Face a soft surface, back to the room. A microphone behind a screen can help, but the room remains decisive. A few gestures are enough for a first layer of sound isolation.
Quick checklist before opening the mic
- Breathing, diction, and voice level: do a 30-second test and listen to the background by itself.
- A dedicated USB port or a properly powered hub interface; avoid dubious extension cables.
- XLR cable in good condition, clean connectors; keep it far from power supplies and dimmers.
- Fans: PC in silent mode, air conditioning off, desk clear of vibration sources.
- Calibrated gain; no double automatic processing between the system, the app and the software.
- Light high-pass filter, discreet gate if needed, monitor with closed-back headphones.
- Calibrated room: curtains drawn, door closed, smartphone on airplane mode away from the mic.
Case study: from a bothersome breath to a broadcast sound
On a streaming setup, the voice came out like a sea breeze as soon as we pushed the fader. First step: bring the dynamic mic closer, cut the gain by 10 dB, and angle its capsule 45° from the mouth. Second: move from the glass-walled office to a wooden set, add a suspension and a thin mat under the microphone arm.
On the software side, I set a high-pass filter at 80 Hz, a subtle noise gate just below the ambient level and a touch of expander. No more “mic boost” in Windows, AGC off on Discord, average level around -12 dBFS. Result: perceived hiss halved, articulation highlighted, no word-final being “eaten.” The background noise did not disappear by magic; it became insignificant next to the useful signal.
On a voice-over in an apartment, a condenser mic revealed too much street noise. We swapped to a nearby dynamic, pulled a blackout curtain, turned off the dimmable LEDs, and added light denoising in the editing station. The client kept this setup for all his reads, simply because repeatability was there.
Pitfalls to avoid to keep a natural voice
- Stacking processing: more than three corrections in series and the ear tires.
- Closing the gate too hard: breathing must breathe, otherwise the take sounds artificial.
- Confusing volume and presence: aim for a good spectral balance rather than just boosting the level.
- Forgetting ergonomics: if your setup generates noise, you’ll end up leaving it as-is. Simplify your moves.
The final word: capture clean, mix light
The fight against breath is won mostly before hitting the Rec button: an appropriate microphone, the right position, a clean room, a clean preamp, and clear settings. Modern tools are valuable, but they polish a solid base better than repairing a failed capture. If you’re torn between a dynamic and a condenser, this guide to microphone directivity helps you anticipate the capture in your environment.
Want to go further on the input chain? A good amplification choice changes everything; take a look at choosing a preamp for a vocal mic that respects your grain. Here are the clean takes, without sibilance or hum, ready for broadcast.